-
Senior Member
registered user
Mini HowTo: Create flash from 7.0.5 ISO using qemu/kvm
Prerequisites: Kvm must be running well. In 7.0.5, is does out of the box. Modules may otherwise have to be loaded. Qemu without kvm is rather slow, only for testing and emergencies IMHO. There have been bug problems in recent versions, so it's good practice to run package update of qemu-kvm first.
Code:
sudo modprobe kvm && sudo modprobe kvm-intel
Of course, you need to have the ISO, check downloading by md5sum or similar.
Log into the download directory.
1. Have USB media inserted, you can use fdisk -l to check what it identifies as:
Code:
knoppix@Microknoppix:/store/download/iso$ fdisk -l
.....
Disk /dev/sdc: 31.6 GB, 31608274944 bytes
64 heads, 32 sectors/track, 30144 cylinders, total 61734912 sectors
Units = sectors of 1 * 512 = 512 bytes
Sector size (logical/physical): 512 bytes / 512 bytes
I/O size (minimum/optimal): 512 bytes / 512 bytes
Disk identifier: 0x6f20736b

   Device Boot      Start         End      Blocks   Id  System
/dev/sdc1   *        2048    61734911    30866432    c  W95 FAT32 (LBA)
2. Make qemu boot the ISO
Code:
sudo qemu -machine accel=kvm -cdrom KNOPPIX_V7.0.5DVD-2012-12-21-EN.iso -hdb /dev/sdc -m 1024 -boot d
Now you get the booting screen where you can just type knoppix (not Knoppix64 unless you run a full 64-bits system) and eventual keyboard modifications etc, just like booting a DVD.
It may be a bit confusing with all the different drive designations, and inside Knoppix under qemu, /dev/sdc1 becomes sda1, but if you use flash-knoppix to install to that medium, you will get a bootable stick by this procedure - at least I did.
(3. - eventually)
To have a basic Poor Man's Install of the ISO, you can boot the stick, do some tweaks, mount a suitable harddisk partition, and copy the system to a basic Knoppix directory on the disk:
Here, I used the Win7 partition:
Code:
mount /media/sda2
sudo rsync -ax /mnt-system/KNOPPIX/* /media/sda2/KNOPPIX705ISO &
Next time I boot from the stick, I use the command line
Code:
knoppix64 fromhd=/dev/sda2 knoppix_dir=KNOPPIX705ISO
Plus eventual other cheatcodes applicable.
The reason I make a separate directory for the ISO version, is all the problems I have had with purging and remastering 7.0.5. I can easily back up to this point.
-
Senior Member
registered user
Update: Works fine for 7.20 too
I have just created a bootable 7.2.0 USB stick in the way described. There is a small change in Knoppix defaults: When asked about persistent storage, Knoppix now repartitions the drive, creates a Reiserfs partition the size of the selected storage, and creates the loop-image there.
Usually, the loop-image (knoppix-data.img) is created in the KNOPPIX directory, now there is created a file there, knoppix-data.inf, that points to the persistent store.
But if this file is deleted (as I did), Knoppix will ask about creation of persistent image on booting, and in that case create it in the KNOPPIX directory - which I BTW tag with release and remastering, so the directory with the basic version of 7.2.0 I just call KNOPPIX720.
It may also be handy to do basic updates and program installs in the virtual machine - plus tweaks like setting the screensaver to blank screen (may otherwise draw a LOT of resources), disable wobbly windows etc.
I haven't used the USB stick for this, rather I have copied the KNOPPIX directory to an otherwise unused HD partition, and created a GRUB entry for it. Then booted it up with the simple qemu command
Code:
sudo qemu -machine accel=kvm -hda /dev/sda -m 1024 &
Here, the -hda /dev/sda parameter tells Qemu to boot from the main harddisk. Note that the new KNOPPIX should NOT be placed on the partition you already run Knoppix from when it is to be run under Qemu, at least unless you place the persistent image on another partition.
-
There is a small change in Knoppix defaults: When asked about persistent storage, Knoppix now repartitions the drive, creates a Reiserfs partition the size of the selected storage, and creates the loop-image there.
You have still the possibility to select where the persistent memory shall be.
Hard drive installation
 Posting Permissions
- You may not post new threads
- You may not post replies
- You may not post attachments
- You may not edit your posts
-
Forum Rules

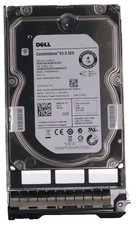
Dell 6P85J 4TB ST4000NM0063 7.2k 6Gb/s 3.5” SAS SED Hard Drive with Tray
$39.99
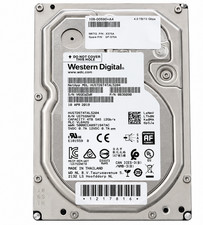
Western Digital HUS726T4TAL5204 4TB 7.2K SAS 12Gb/s 3.5" 512e HDD NetApp X375A
$64.00

DELL 2TB Enterprise HDD (7200RPM, 3.5", SATA III, 128MB Cache) HUS722T2TALA600
$49.95
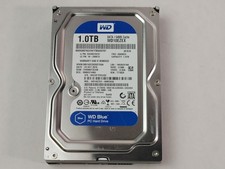
Western Digital WD Blue WD10EZEX 1 TB 3.5" SATA III Desktop Hard Drive
$23.99
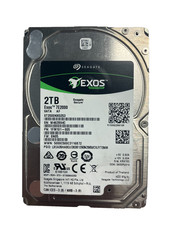
Seagate Exos ST2000NX0253 HDD 2TB SATA 7.2K 2.5" 512b/s
$55.00
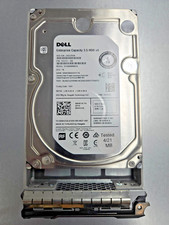
Dell ST6000NM0034 1HT27Z-150 NWCCG 6TB SAS 3.5 7.2K ENTERPRISE SERVER DRIVE
$68.99
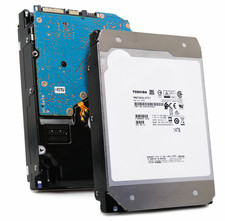
Toshiba 14TB MG07 MG07ACA14TEY 7.2K RPM SATA 6Gb/s 512e 3.5" Enterprise HDD
$339.00
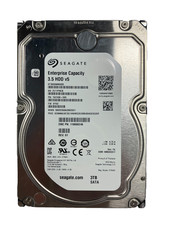
Seagate ST3000NM0005 HDD 3TB SATA 6Gb/s 7.2K 3.5" 512 b/s
$59.00

Western Digital 1TB 3.5" SATA III 7200RPM Desktop Hard Drive
$34.99
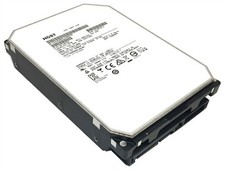
HUS726060ALA640 HGST Ultrastar 6TB SATA 6Gbps 7.2K 3.5" Hard Drive OF21860
$129.99



 Reply With Quote